BookCraft (TomeCraft) 9
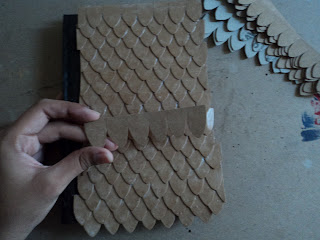
With the start of yet another fun filled exciting semester I had to limit my bookcrafting time to a mere couple of hours on weekends. Not very motivating to work in small bits of the day. But i finally got around to gathering enough process for the next book! So for this guy, just like one of the previous books, Hefnir, i went with strips of scales.
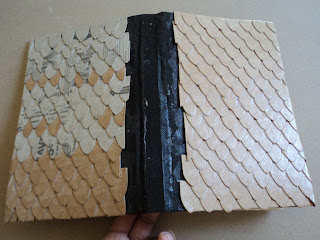
Initially i hadn't planned for the scales to wrap around the covers but they ended up doing so.
If i do this for some other book, definitely will make the strips longer so that they can wrap around nicely and then be covered by the paper cover.
Next, I took some thick cardboard and made the pieces you can see below. Should've made them thicker...too late for that...
The spine cover followed. Made this piece same as Hefnir's. two strips of cardboard sandwiched in the paper towel as you see below...should've made this part thicker...hmm that's a lot of 'should'ves' on this guy!
Glued one side first and started covering the piece with diluted glue plus black acrylic...
cut these other pieces out...
made some more screw tops out of airdrying clay...blah, blah, pictures are pretty self explanatory...
Aaaaand this guy is ready for painting! well, it is actually painted but i'll save that for a next post! Went with a color along the lines of goldenrod.
Following this guy, i will post up the progress for the next two books. And maybe, just maybe, i will introduce the progress of a mask i just finished making for a friend! Came out pretty awesome!


Comments
Post a Comment