DBZ Saiyan Armor 2
While all the filling and fun sanding happened at night, i started preparing for the shoulder pieces and velcro straps.
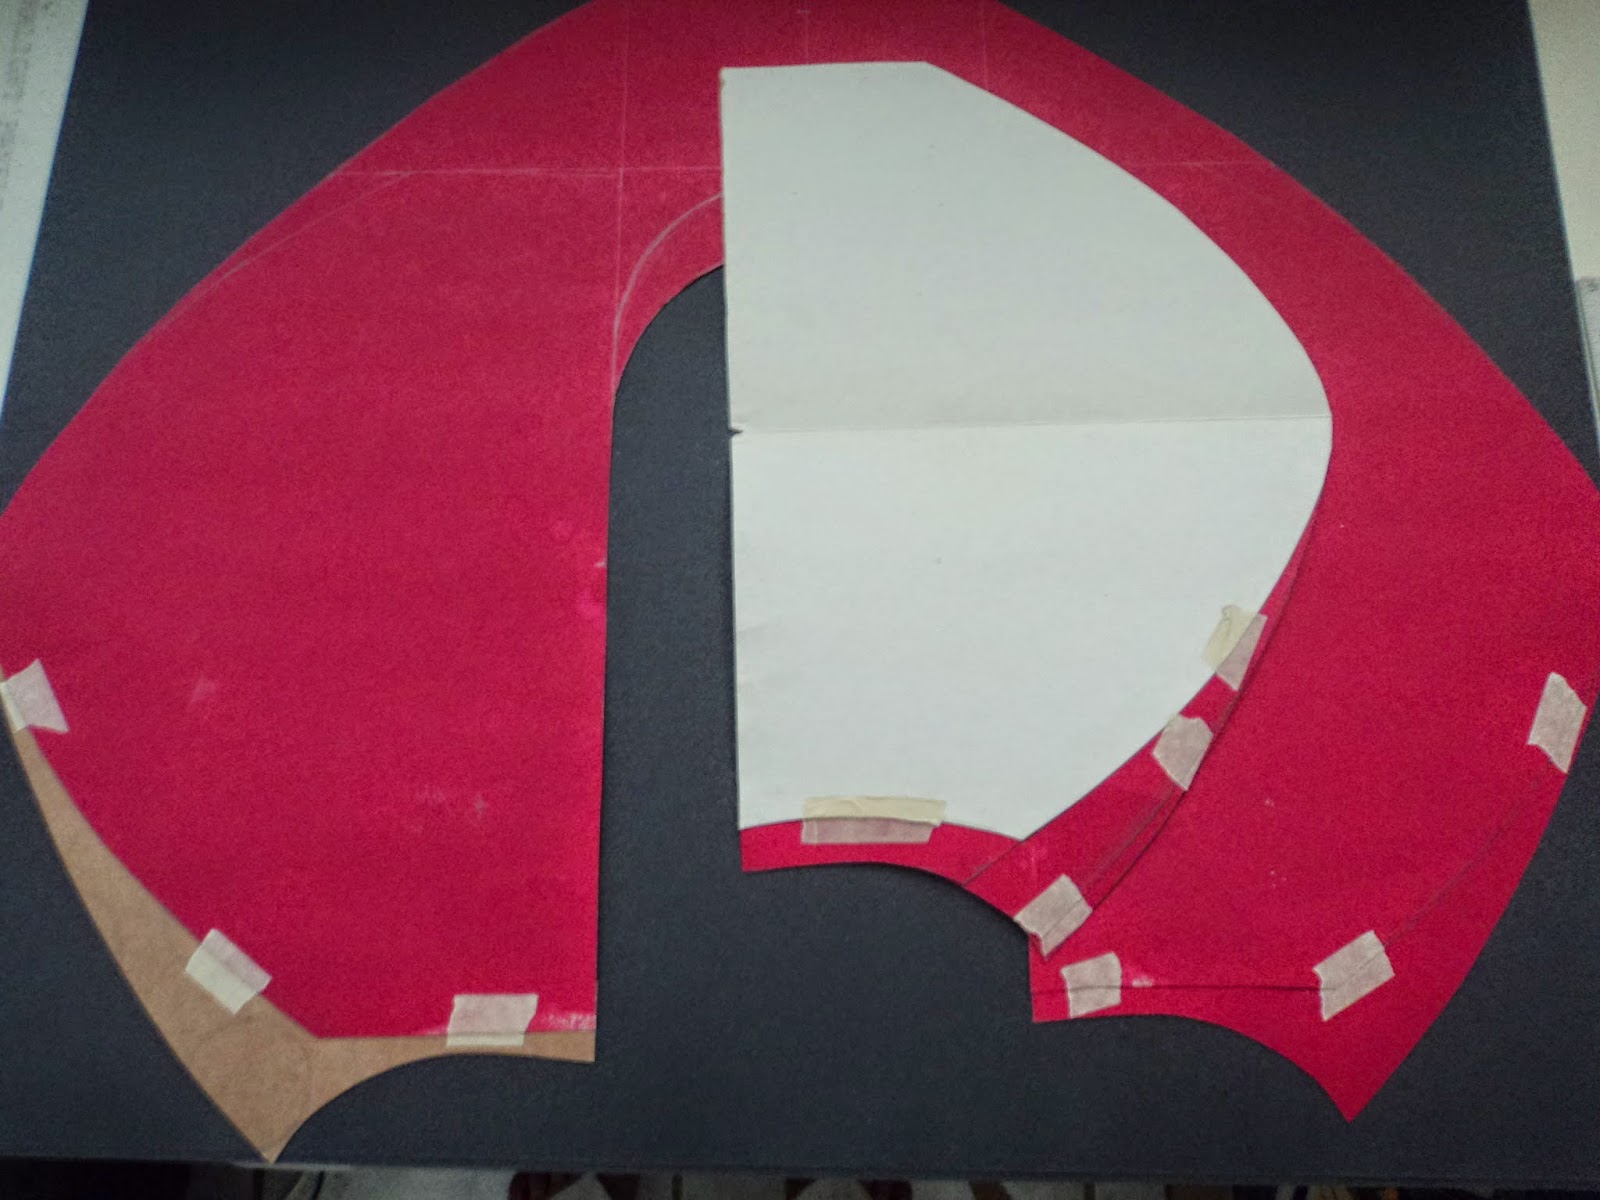 I started the shoulder pieces by making a stencil of one of the shoulders and testing it out on myself. This is the white cardboard piece you see on the images above and below. Once this was of the desired shape and size i went on to make the full shoulder piece. This would be a single piece that would rest on the shoulders and would be kept in place using velcro straps attached to the front part of the chest piece....

 in order for the shoulders to fit nicely i constantly kept putting them on and double checking them with the other two armor pieces. you can see the added pieces that were taped onto the template in the above image.
 Now that half of the template was ready i proceeded to make the final outline and cut out of poster board...
 My friends shoulder pieces obviously had to be larger than mine so i used the same half template for the first shoulders and used it as a guide to make the second shoulders larger...
 Once both shoulder outlines were cut out i taped some wire to one of the sides and proceeded to bend them using a mailing tube. Seems i didn't take much pictures of the process for the shoulder pieces ...pretty much after getting roughly the right curve i stated adding a couple of coats of fiberglass resin just to find out that the cardboard i was using wasn't absorbing the resin...so i had to jump in and add the cloth and resin on the exterior surface of the shoulder pieces...
 For the straps that would attach the armor pieces together i bought a couple of yard of black nylon strapping....cut it up to the desired size...bought some velcro and cut it up to size...
 The velcro i bought was the sticky back kind, however i would later go thru and hand sow the pieces to the nylon straps to make sure they stay on...
 in the image below you can see how the strapping would work...The strap with the velcro is the piece on the left while the piece on the right will have the metal ring permanently attached to it...

 Here's where this lovely tool called a woodburner with interchangeable tips comes handy! So when you cut nylon straps the ends start unthreading so in order to stop it from doing that you have to burn the edges. Well! I planned to attach the nylon straps to the armor by using metal rivets so holes would be needed to be burned in as in the image below.


Comments
Post a Comment