Book Set: Wood Veneers 1
Slowly I've been putting together this next set of books. These repurpose some of the good ole' cardboard I tend to hoard, wood veneer and faux leather samples. Here go the first couple of steps!
As always, I start off with white paper. Once i cut it down to the desired size I go on to whether the edges using my dremel tool with a sanding drum...Then comes the funfilled coffee staining process where i get to dip my hands in coffee!
For the covers, i start by cutting down cardboard to the size of the covers. In this case, this book set will include 6 books in two different sizes. Each cover piece will get three pieces of cardboard glued together for more rigidity. It's incredible how much cardboard i was able to reuse with this set!
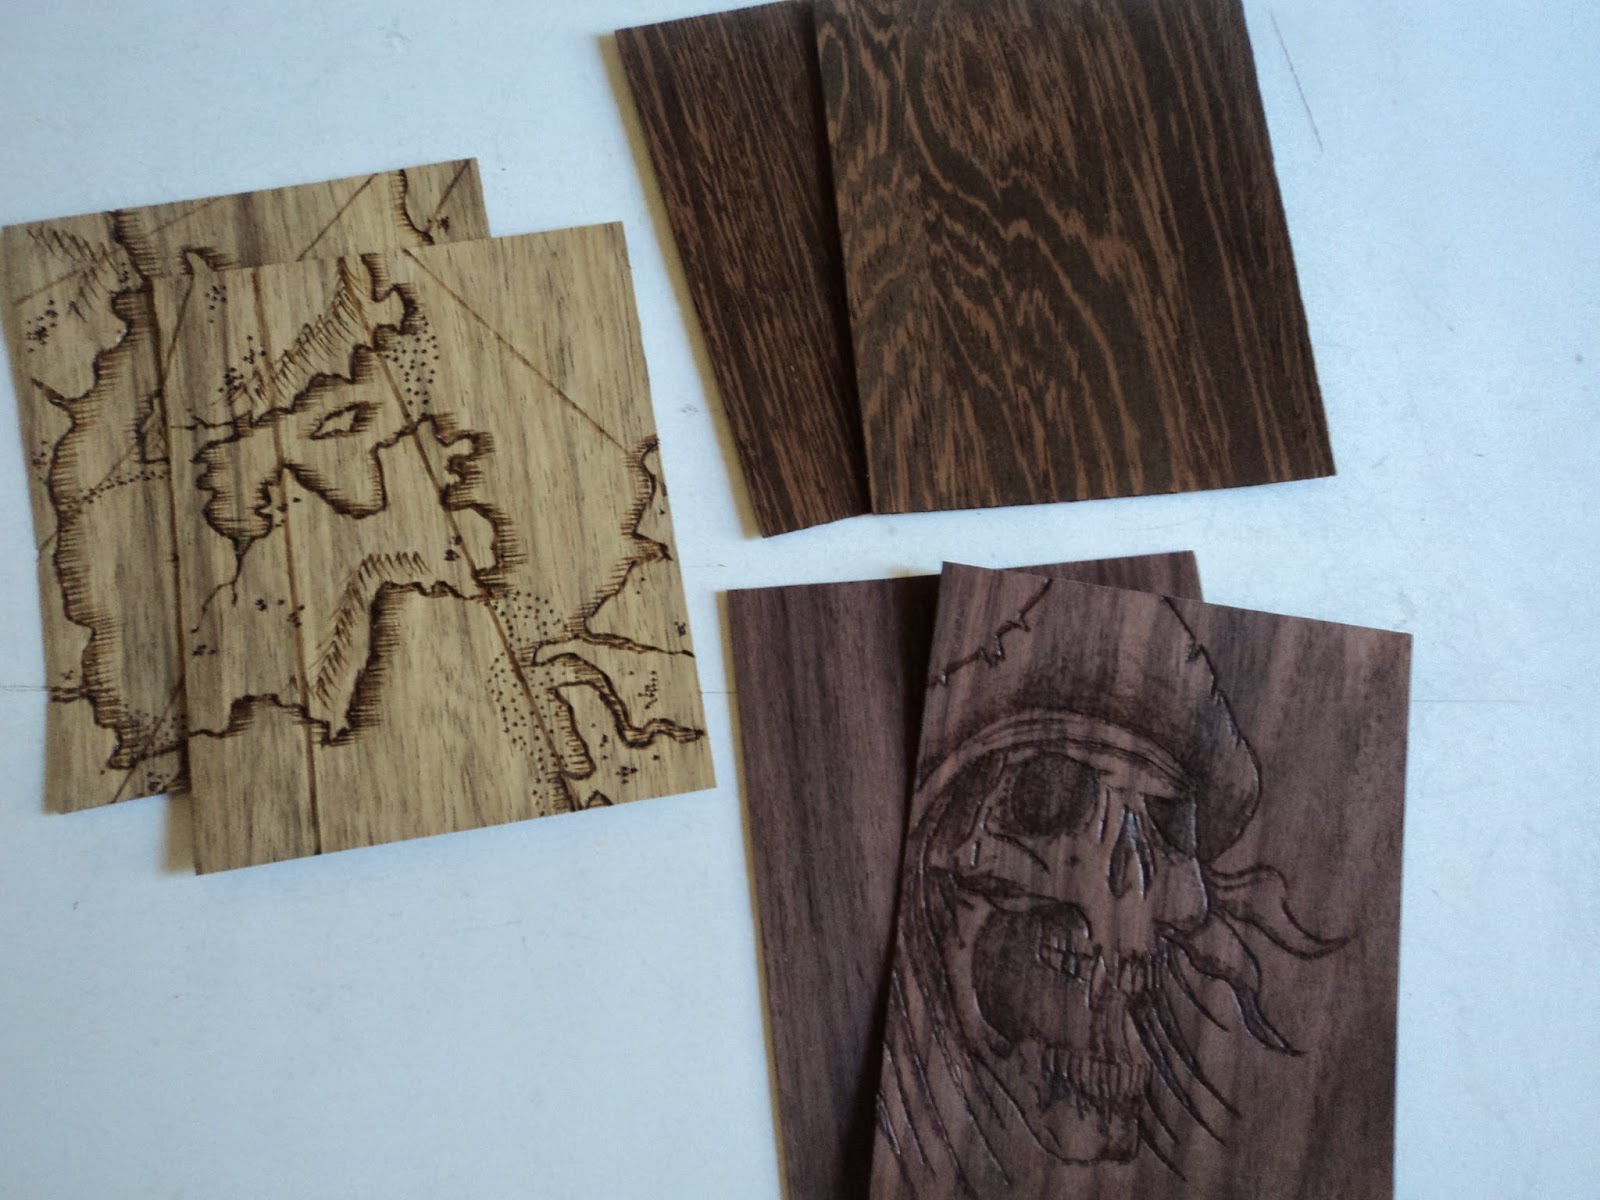
Next I went on to cut down the wood veneer samples to size. All of the six books will feature a different wood type...
I decided this set would have a nautical theme to it so some of the books would feature a burned image onto the covers. Ohh the lovely smell of burning wood!
To burn in the design, i printed it on regular bond paper that i then taped to the cover and I burned right thru it.
Halfway thru the wood burning i decided my hand was hurting too much so I opted to leaving two of the books sans burning.
Next came wrapping the cardboard covers with napkins. These were glued on using a mixture of slightly diluted white glue and black acrylic. Once dried they end up looking like the images below and in no need of further painting over...
Once the cardboard covers are fully dry, the wood veneer pieces can be glued on...
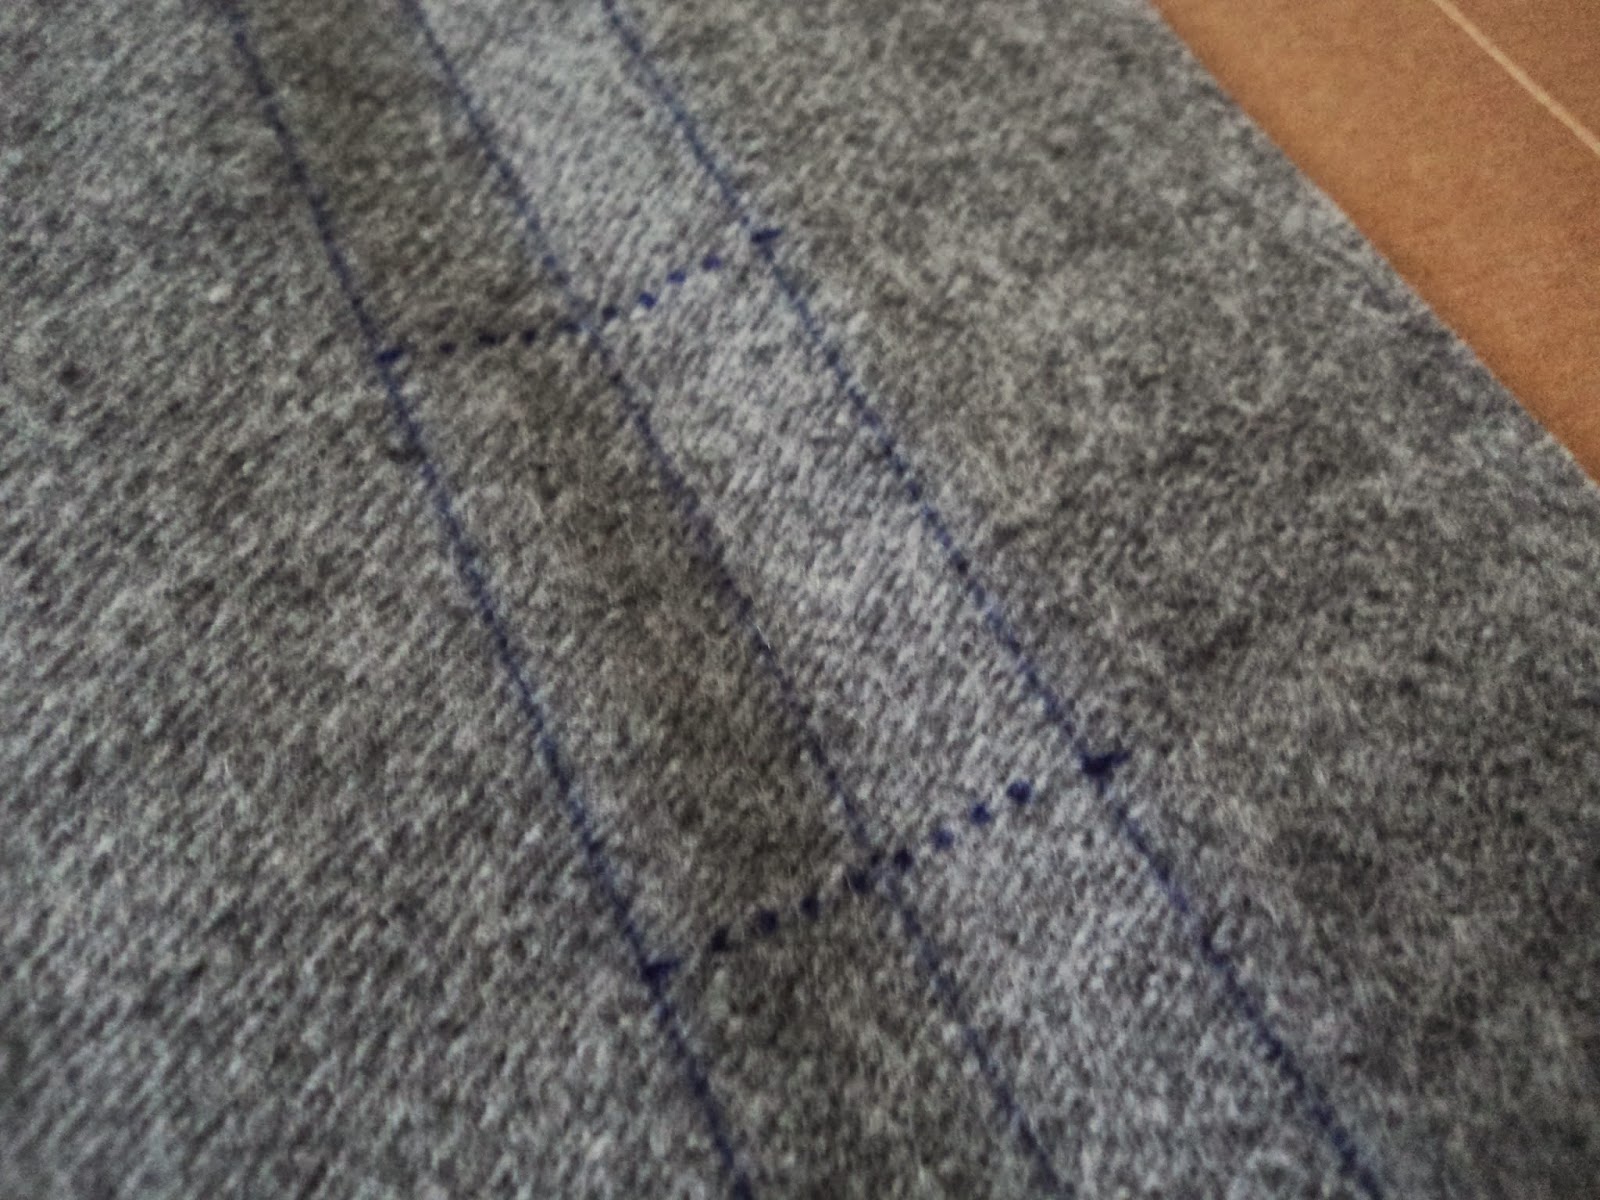
This set will also feature a faux leather spine so those pieces were cut down, marked for the long stitching of the pages later on, and then glued to the covers...
Did this to all of the six books and now they are ready for sowing the signatures directly to them!
As always, I start off with white paper. Once i cut it down to the desired size I go on to whether the edges using my dremel tool with a sanding drum...Then comes the funfilled coffee staining process where i get to dip my hands in coffee!
For the covers, i start by cutting down cardboard to the size of the covers. In this case, this book set will include 6 books in two different sizes. Each cover piece will get three pieces of cardboard glued together for more rigidity. It's incredible how much cardboard i was able to reuse with this set!
Next I went on to cut down the wood veneer samples to size. All of the six books will feature a different wood type...
I decided this set would have a nautical theme to it so some of the books would feature a burned image onto the covers. Ohh the lovely smell of burning wood!
To burn in the design, i printed it on regular bond paper that i then taped to the cover and I burned right thru it.
Next came wrapping the cardboard covers with napkins. These were glued on using a mixture of slightly diluted white glue and black acrylic. Once dried they end up looking like the images below and in no need of further painting over...
Once the cardboard covers are fully dry, the wood veneer pieces can be glued on...
This set will also feature a faux leather spine so those pieces were cut down, marked for the long stitching of the pages later on, and then glued to the covers...
Did this to all of the six books and now they are ready for sowing the signatures directly to them!


Comments
Post a Comment