Polymer Mask: Naruto Anbu
Although i'm not a big Naruto fan making an Anbu mask sounded like another chance to do a mask for a friend! So here it goes. Process for this one went the same as with the Thanos Mask I did earlier. I'll probably look at other ways to go about making a much lighter weight mask later...but for now this is it!
Started with sculpting the basic shape with an oil based modeling clay...
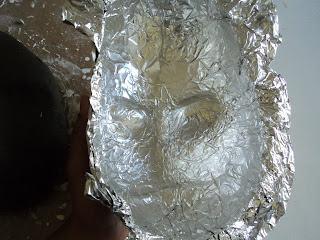
Covered it with aluminum foil...
Added a couple layers of plaster wrap...
Once the plaster wrap was fully dried I could pry it off of the clay piece and see how it fit to my face...
Used crumpled aluminum foil to bulk out the temple areas...
Proceeded to cover that with aluminum foil...
And went on to add the first layers of polymer clay. For this I used the original sculpey which comes in white...
Added some more contours and a pair of ears...and just like that it was ready to bake in the oven!
After it had fully cooled down, I could then tear the aluminum foil and plaster mask piece out...
Proceeded to sand the mask to get it much smoother...filled in some small imperfections here and there...more sanding...had my friend draw in his design idea...
After the inside of the mask was sanded down, Craft foam was added for padding to the inside of the mask and nylon straps for fastening.
Finished off with painting over with acrylics and it's done!
That's it for this guy!


Comments
Post a Comment