Atlantis: Shepherd's Journal 1
Some months ago a friend of mine commissioned me to do The Shepherd's Journal from Disney's Atlantis: The Lost Empire. It took quite a while to complete since I was working on it while I was finishing up the last semester to earn my Bachelor's and my almighty Thesis Project along with it. The sporadic progress was to spread out to bother making any updates but these are now bundled up and here they are! And I must add, it was very exciting to do!
 First, came a bit of research. Looked up how the original book was designed based on the animated movie aswell as how other fellow artisans have created their own Shepherd's Journal. Once that was done and consulted with my friend, construction was a go!
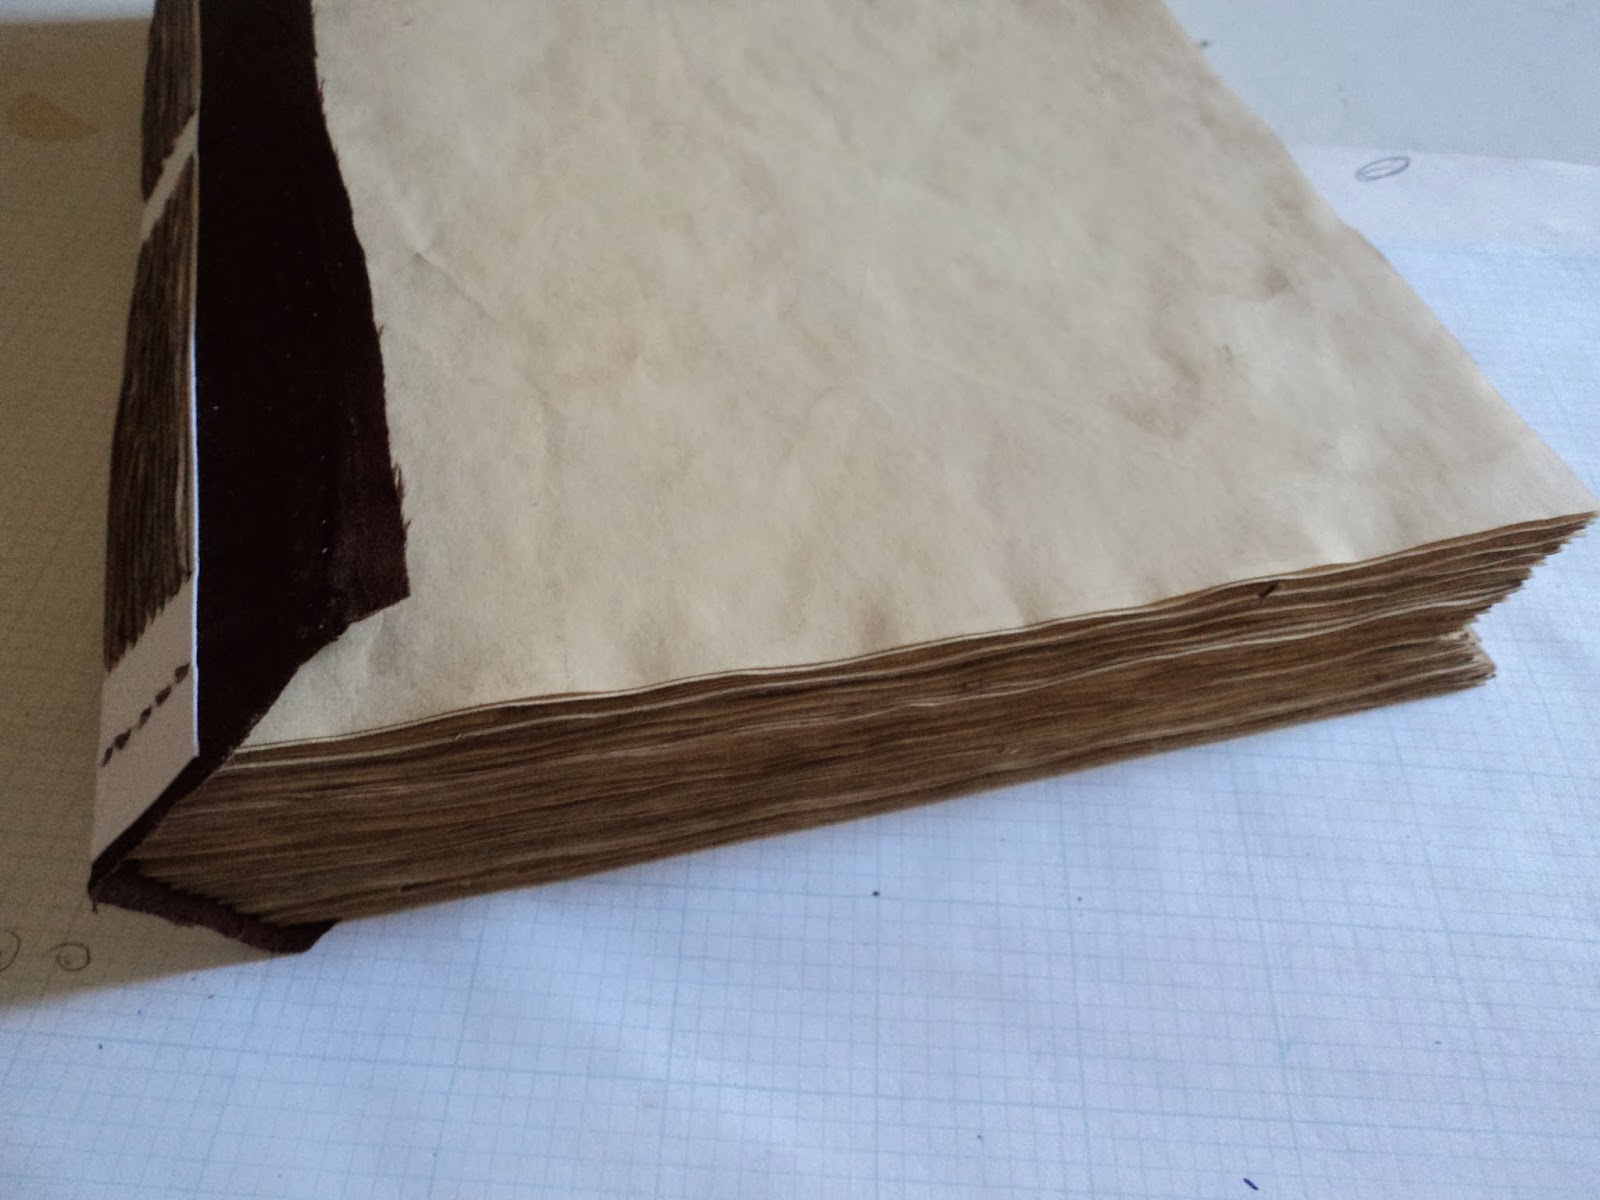
I started with cutting down and staining the pages. These were lightly stained with diluted coffee and a few drops of black acrylic.
 Next up, was cutting the hardcovers out of hardboard (1/8th thickness) to a total of four pieces; two of which you see in the image below.
 The pages would be stitched and then placed on the slanting pieces of the spine; thus the paper was left wider than needed to later be cut down.
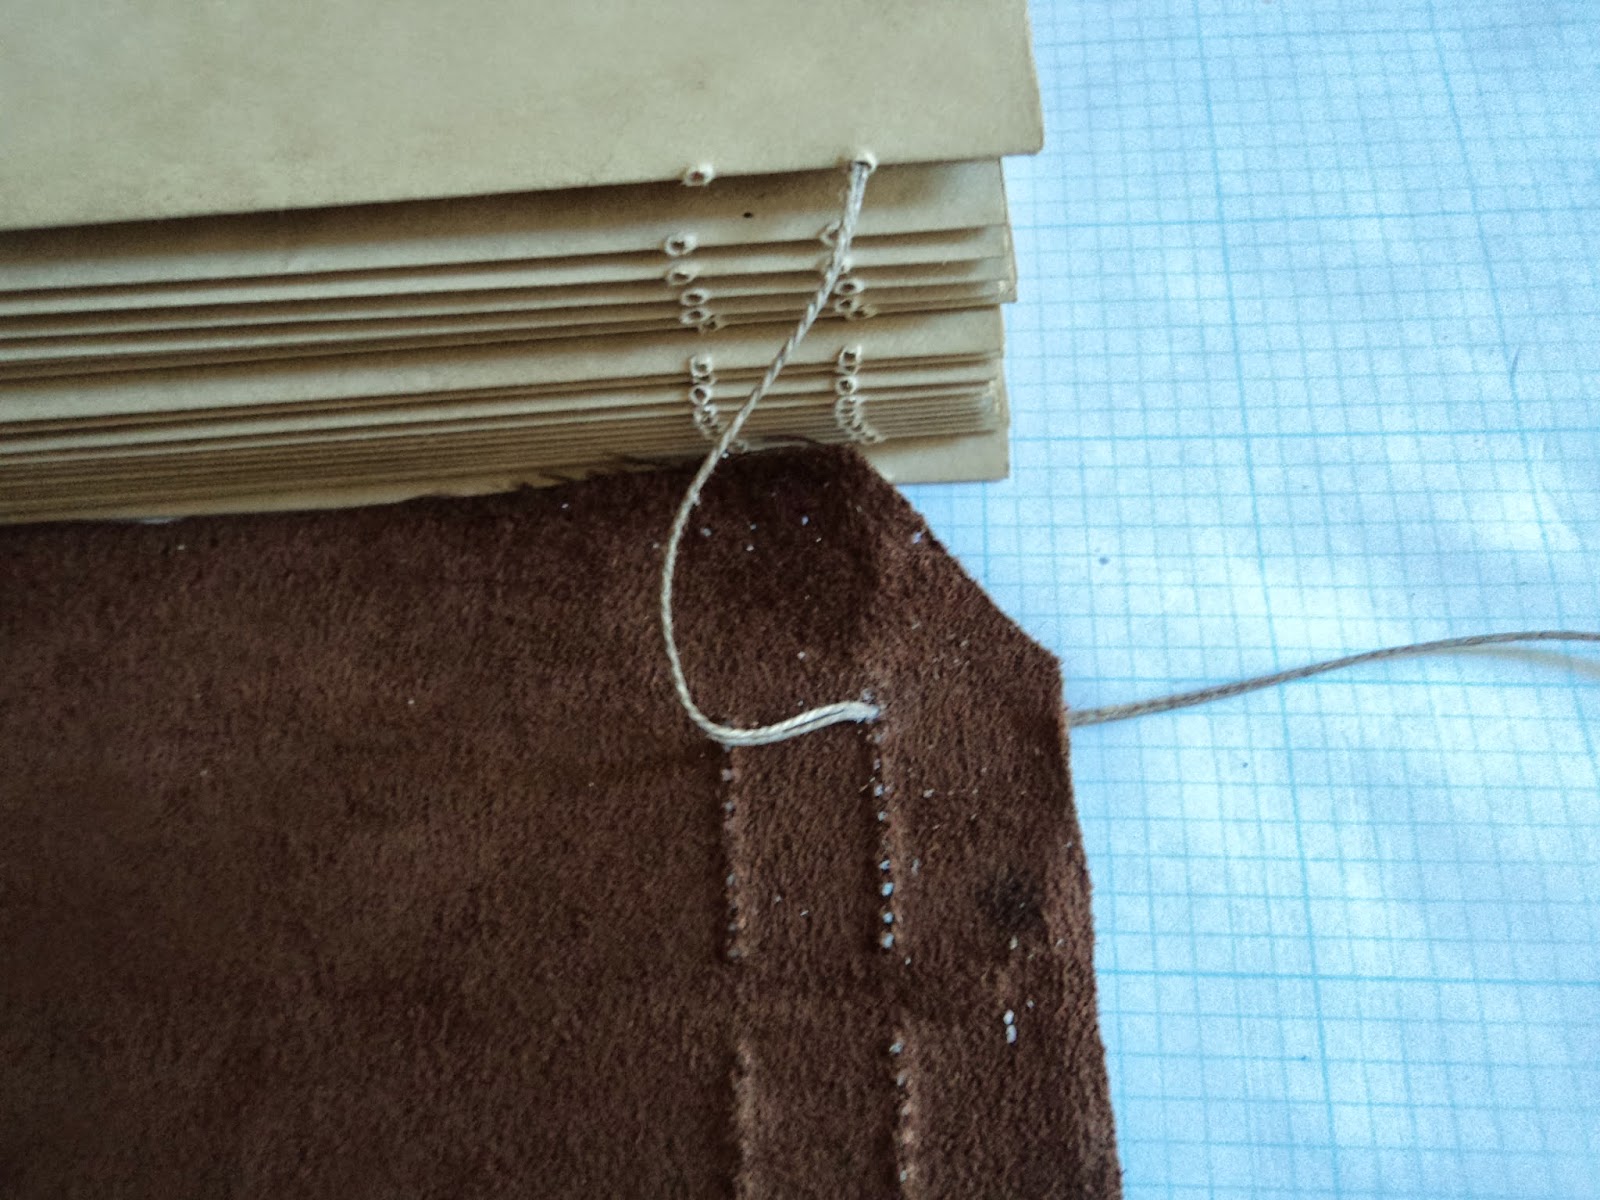
 A brown micro suede was chosen for the covers and was also used to sow the signatures together.
 Strips of cardboard were marked and glued in place to keep the page signatures neatly spaced out.
 Placed a foamcore piece behind it and proceeded to punch the holes thru to make sowing easier...

 ...punched thru the signatures...
 ...waxed the thread a bit...
 ...and began the sowing using a long stitch.


 Once I had the angle of the pages set I went on to glue the hardboard pieces at the corresponding angle...
 ...filled it up a bit using wood filler and with some sanding, the hardcovers were ready for the next steps!
 I went on to get some of the accessories going at the same time i was working on the cover pieces.
 For the closing mechanism I used a set of hinges...
 I decided to use both and then cover the joining area with a piece of aluminum sheet...


 ...glued that on...folded over...


 The closing hinge would be permanently attached to the back cover and for the front I went with the some magnet magic! I had these flat round magnets laying around that were perfect and strong enough for the job!
 These would be inlayed into the hardboard cover and further concealed by the cover materials...
 Next came doing a bit of work on the rod. To make the hinge rod functional, it had to be a hard, durable material so I decided on doing my shopping in the curtain rod section until I found the perfect one!
 The ends of the rod already had the nice rounded end that needed to be modified a bit later...
 ...cut the end pieces shorter...
 ...cut the aluminum rod to size..

 Proceeded to sand off the ends...seems I don't have progress images on the next steps for these guys but what came next was adding on wood filler at the tip and around the lower portion. It was then sanded down and carved a bit to resemble the original shepherd's journal rod...
 And this post is getting long enough so more on the progress in the next post!
Thank you for viewing!

I started with cutting down and staining the pages. These were lightly stained with diluted coffee and a few drops of black acrylic.


Thank you for viewing!


Comments
Post a Comment