Costume: Predator 2 (Armor)
Next on the armor pieces was giving them some more strength to them. For this I went with gauze used for bandaging and glued it to the backs of all the pieces...
 Once dry i went on to cut the excess off...

 For the thigh pieces I decided to leave a the gauze at the top of each plate as seen below. These would work as tabs to adhere them to each other...
 Before applying the gauze i did put an extra piece of foam to the backs of the lower two plates...
 This was done so that when the plates would be glued together they would be offset from each other and not sitting directly ontop of each other. This also made the overall thigh piece curve a bit.
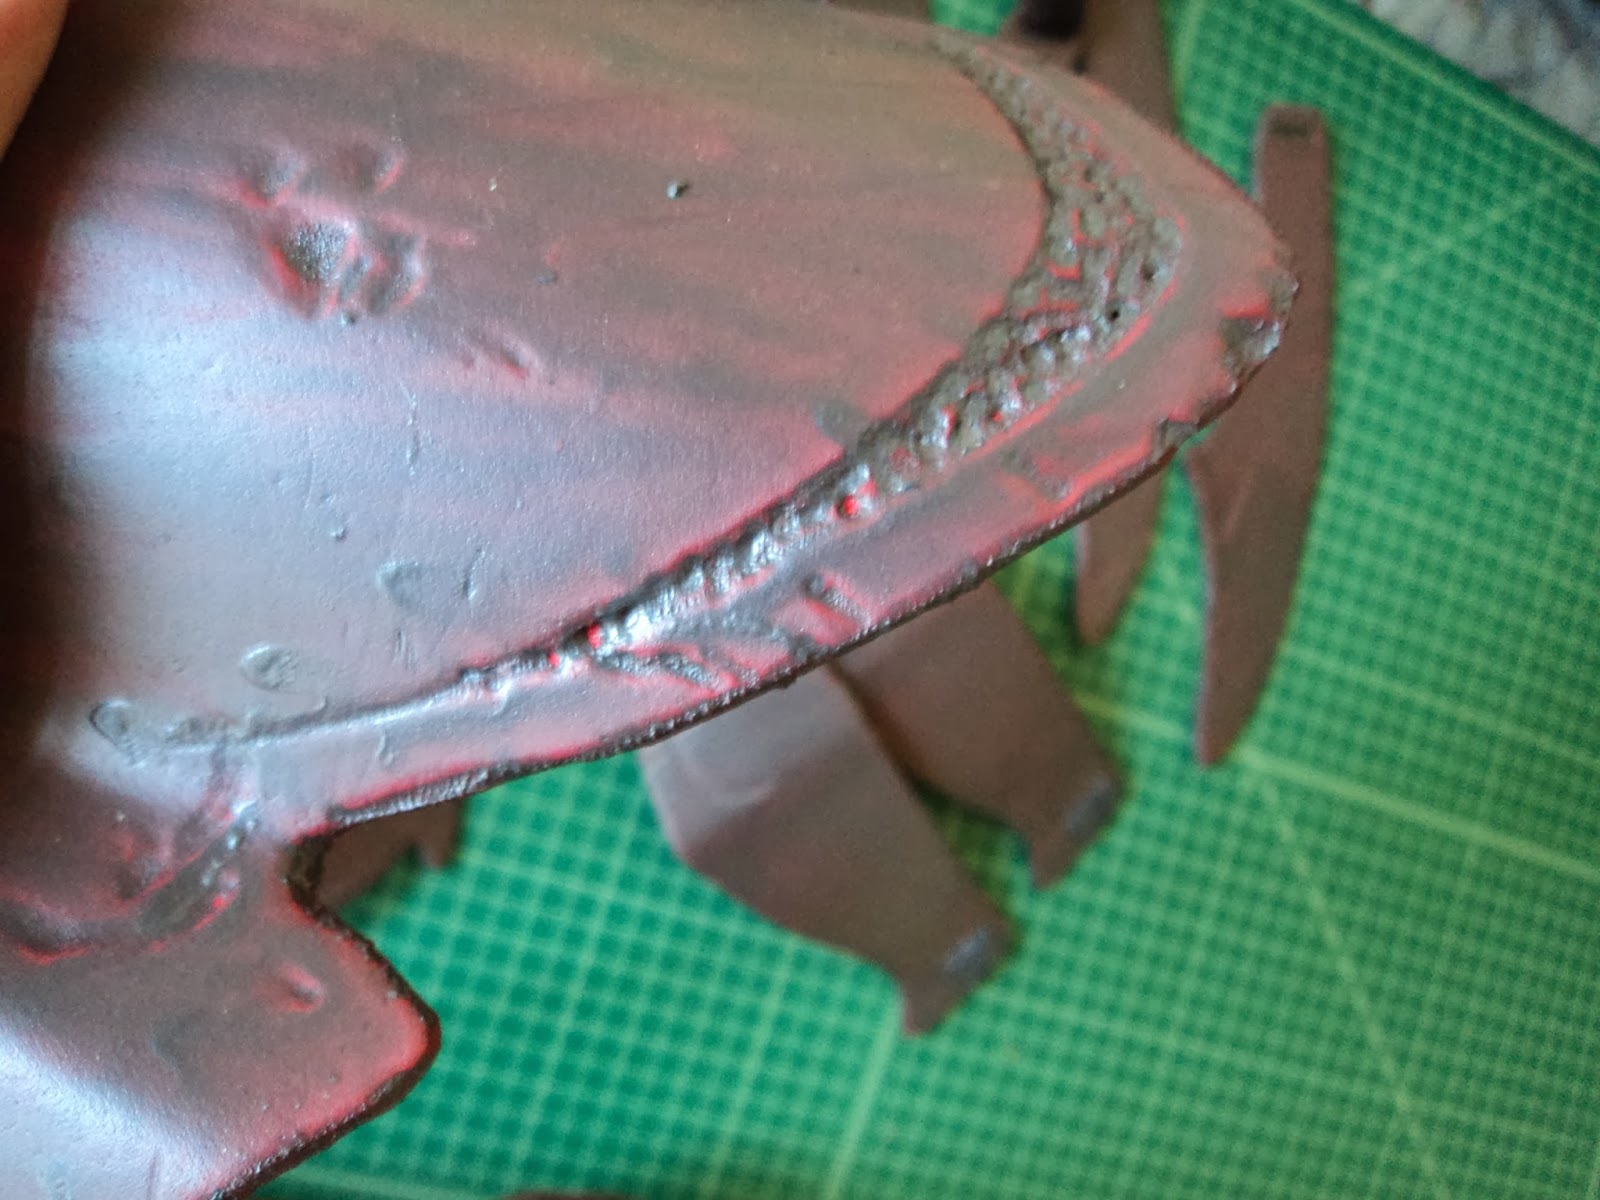
 Kept on burning simple details to the rest of the pieces...
 Some add-ons here and there...
 Did some work on the cod/groin piece...

 cut out a channel for one of the pieces to be glued on nicely...
 Once done with pieces i went on to seal the foam by giving them two coats of a mix of diluted white glue, tacky glue, and black acrylic. I cut out slats along the upper edges of the waist pieces so that the velcro could slip thru and then attach to the belt.
 Adding the black acrylic to the diluted glue mix worked well to identify parts that needed more coating...after these glue mix coats come a flat spray paint coat in black followed by a coat in satin aluminum and then comes the fun part! blackwashing!!
 Thats it for today; Assembly pictures to come in the next post!


That's really cool. Are you going to leave it like that or give it more painting?
ReplyDeleteNope, the glue mix was just to seal the foam for the spray paint. I'll finish these pieces with satin metallic aluminum paint and then go over all with a diluted black acrylic mix (or black ink). Wipe off the excess acrylic and it will end up accentuating the dents, scratches, and burned in details! Can't wait for this to happen!!
Delete