Book Re-Cover: The Last Unicorn 1
So, i got a chance to do another book re-cover! Requested book: The Last Unicorn. For this guy it turns out that there wasn't much hardcover copies around so i started off by purchasing a paperback version on amazon.

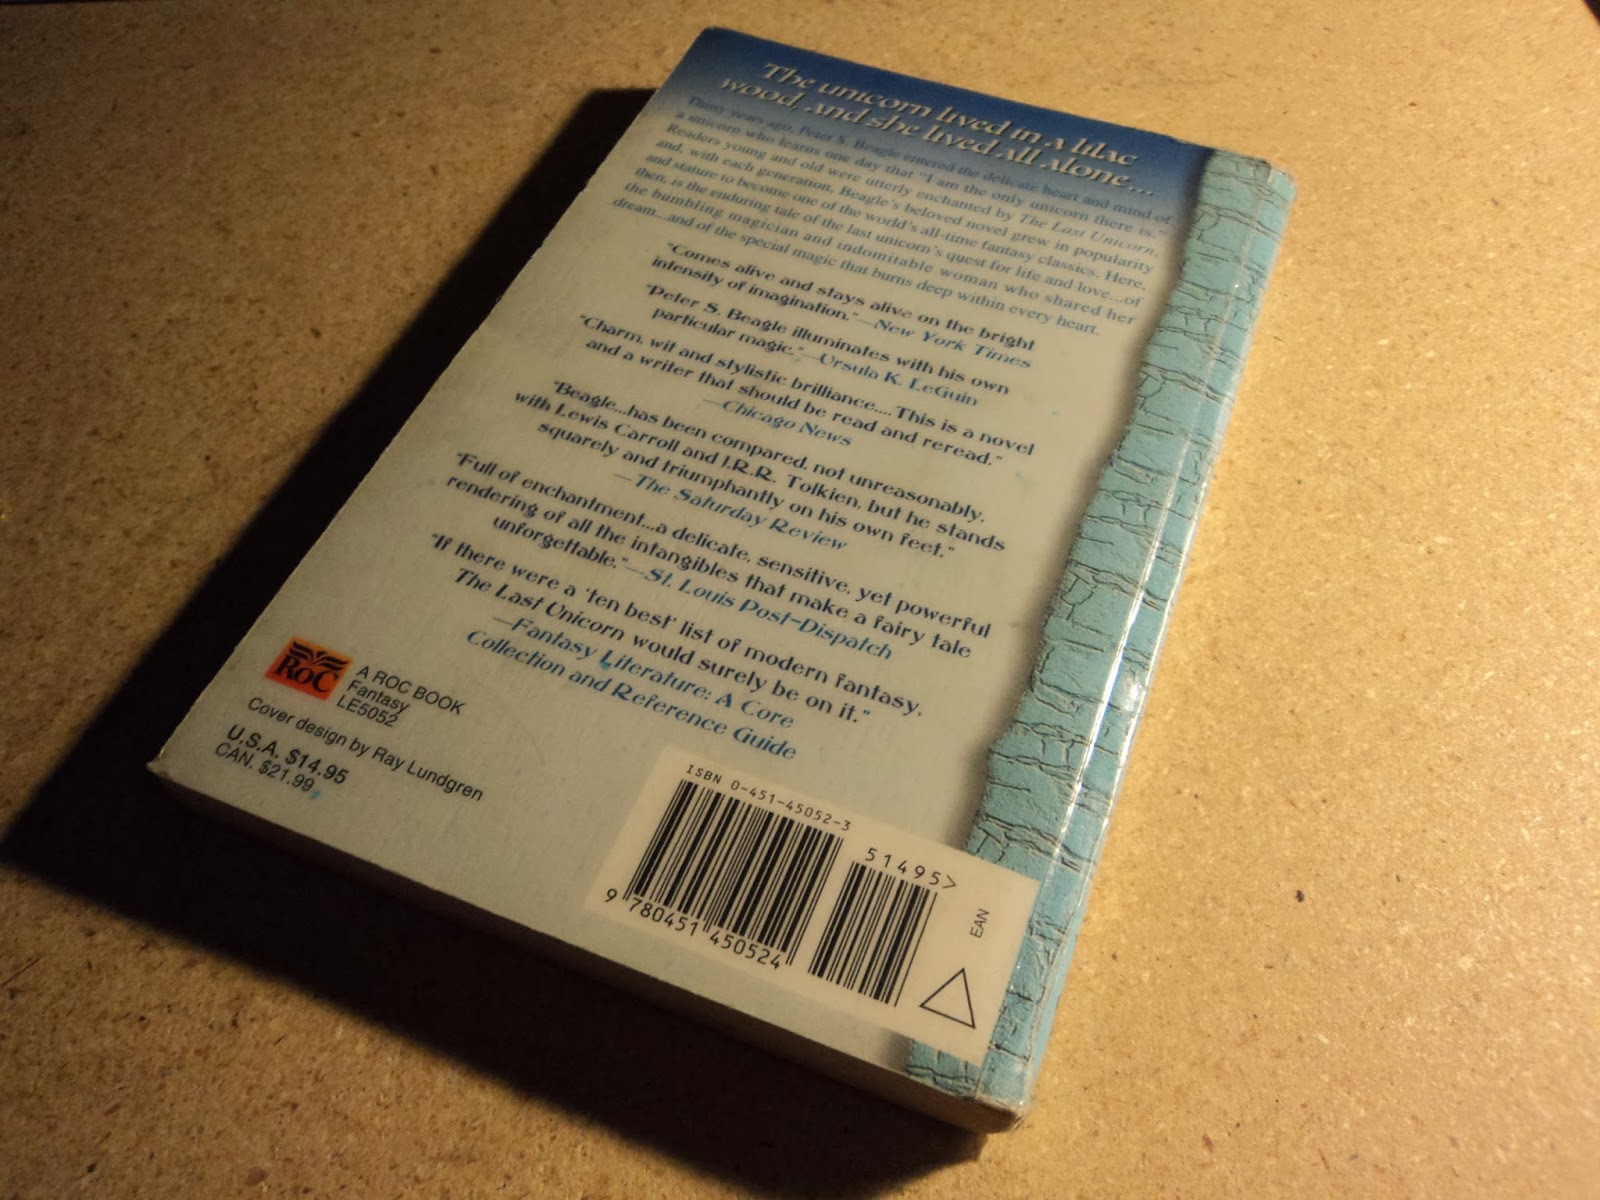 Little bad part was it was stamped in two places. on the side and on the interior title page...
 a couple of the front and back pages were getting a bit detached from the text bloc...
 Stamp on title page...

 A lovely thing about this copy is the plain black and white illustrations found here and there!
 Started off by clipping the text block in case some pages got detached and then carefully detached the paper cover...
 After detaching the paper cover i covered the spine with glue so that any detached and semi detached front and back pages would glue back with the text block...
 Once the glue dried i placed some more glue to the spine only and glued on a...cloth lining? thin cheese cloth kind of a fabric piece? something like that!
 Next, instead of getting some illustration board an making the cover from multiple pieces i decided to go to a used book store that sells all books for 1$ and just find a hardcover book with the needed dimensions. First time shopping for a hardcover only...got a couple of stares since i was just going around with my pocket ruler measuring books...
 Proceeded to rip off the text block from the hardcover...
 Trimmed off the cover since it was a little long on one side...
 Went on to add the spine accents? with pieces of craft foam...
 Cut out the cover piece for the spine out of a piece of faux leather...
 Smeared glue to the spine and then placed the faux leather piece over it...strapped it down using some yarn...let it dry over night...
 I miscalculated the width of the cover since i did not take into account the thickness of the leather when i fold in the tabs...so i cut out thin pieces of wood (appx 1/8"). glued this onto a piece of cardboard to match the thickness of the covers.
 Once dry, i cut these thin pieces out and taped then to the edges of the cover as seen in the images...

 Next step is the getting the wood done! Cut out the wood from bass wood and then transferred the desired cover design (taken from the cover of another book edition). Burned the design using a wood burner...
 Proceeded to add accent scratches and chipped off wood pieces and then went on to stain to the desired color using a mix of diluted acrylics and coffee...Afterwards i gave it a couple of sprays with glossy spray finish.
 Glued on paper napkins (ones with a neutral spotted texture) to the covers and then painted the edges that would end up visible...
 Glued and tacked on the wood pieces to the front and back covers...
 Once dry the faux leather tabs were then folded in and glued...
 Black washed the edges of the covers. (dark gray areas)
 Finally came the time to glue on the text block!

Dont have pictures of the process of gluing this piece down but hopefully you can imagine it! I glued on the thin cheese cloth pieces to the covers, placing a plastic paper sleeve between the cheese cloth and the text block so that the glue wont stick to the actual pages...Let that dry.
For the inner page lining i simply went with some gray strathmore paper that i then stained a bit darker so that it can get variations of hue here and there...Glued these two piece on and just like that it was all ready for staging!


Comments
Post a Comment