Faux Leather Journals 2
Next couple of steps for this 6-pack!
 Once the faux leather was in place, came the time to attach the fasteners. Top and bottom faux leather is the same color but they differ in finish. Top has more sheen to it while the bottom remains matte. Top got some bronze colored fasteners and bottom got some silver...

 This guy has a bit bumb to it...and it got some bronze colored fasteners...
 This guy's faux leather, although it has some bump to it, it is pretty soft to the touch...silver colored fasteners...in case you're wondering about the black dots; those are for the stitching stage. I went on to mark where i would pierce the covers somewhere along this step...
 Last of the pack got a faux leather with bump that is a bit cool to the touch and has some sheen to it... silver colored fasteners...

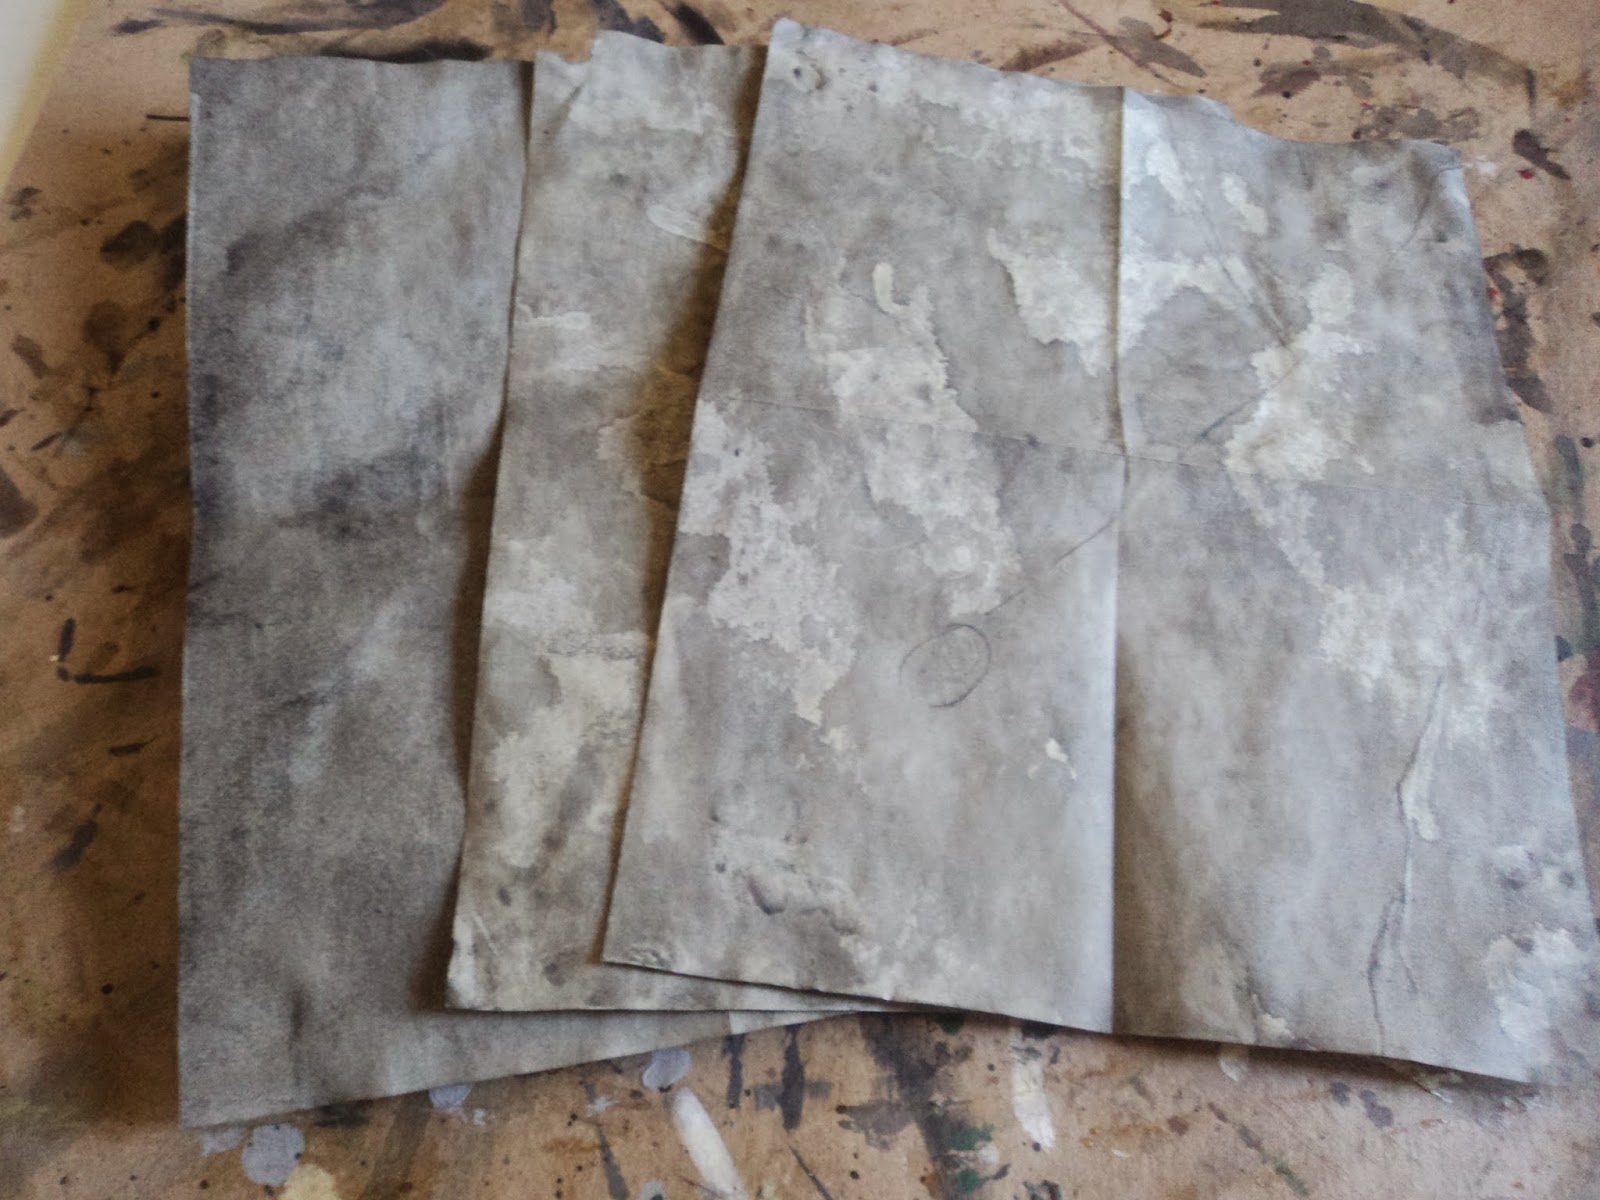
 Next came staining the inner lining pages...I've fallen in love with doing these pages with only diluted black acrylic. Once dry it gives the paper a variety of stains...
 Cut the paper up and glue to the covers, making sure that the paper covered the fasteners at the reverse side of the cover...


 With that done i went on to pierce thru the covers where desired with a needle tool...
 I first went over the holes with stained string as seen in the images...
 varied the string threading on the next two...

 and on the other two...

 below: oxblood faux leather
 I had to vary these guys a bit because i get bored of doing the same things...simply have to change things around in order to keep me interested! After this comes the stitching and alas, final images!
Thank you for reading! any comments or questions are welcomed!
This guy on the bottom image...appears to be the same color as the top two but it isn't. Its actually oxblood faux leather. In other words its a bit on the purple/red side.
from the image above, the oxblood faux leather is the one on the left...
Thank you for reading! any comments or questions are welcomed!


Comments
Post a Comment